 Login
Login
Retrogaming pur: Baue dein eigenes Space Invaders in JavaScript
Hast du dich jemals gefragt, wie Spiele wie Space Invaders oder Pac-Man unter der Haube funktionieren? Die Antwort ist oft überraschend einfach: Ein Game Loop, ein bisschen Mathematik für die Collision Detection und direkte Pixel-Manipulation über die HTML5 Canvas API.
In diesem Guide bauen wir einen funktionsfähigen Space-Invaders-Klon. Keine Frameworks, keine Libraries – nur reines, puristisches JavaScript.
🛠️ Let's Code: Dein Weg zum Game-Dev
1. Die Sandbox vorbereiten
Bevor wir die erste Zeile Code schreiben, erstellen wir eine saubere Projektstruktur. Das verhindert Chaos und gibt dir volle Kontrolle.
mkdir my-retro-game && cd my-retro-game
touch index.html game.js
2. Das Grundgerüst (HTML)
Wir brauchen eigentlich nur ein <canvas> Element. Hier wird die Magie passieren.
my-retro-game/index.html:
<!DOCTYPE html>
<html lang="de">
<head>
    <meta charset="UTF-8">
    <title>JS Space Invaders</title>
    <style>
        body {
            background: #000;
            display: flex;
            align-items: center;
            justify-content: center;
            height: 100vh;
            margin: 0;
            color: #0f0;
            font-family: 'Courier New', monospace;
            flex-direction: column;
        }
        canvas {
            border: 2px solid #0f0;
            box-shadow: 0 0 20px #0f0;
        }
        h1 {
            margin-bottom: 10px;
            text-shadow: 0 0 10px #0f0;
        }
    </style>
</head>
<body>
    <h1>SPACE INVADERS.JS</h1>
    <canvas id="gameCanvas" width="800" height="600"></canvas>
    <p>Steuerung: Pfeiltasten zum Bewegen, Leertaste zum Schießen</p>
    <script src="game.js"></script>
</body>
</html>
3. Die Game-Logik (JavaScript)
Das Herzstück unseres Spiels. Wir implementieren einen klassischen Game Loop mit requestAnimationFrame.
my-retro-game/game.js:
const canvas = document.getElementById('gameCanvas');
const ctx = canvas.getContext('2d');

let player = { x: 375, y: 550, width: 50, height: 20, speed: 5 };
let bullets = [];
let invaders = [];
let keys = {};

// Invaders initialisieren
for (let row = 0; row < 4; row++) {
    for (let col = 0; col < 10; col++) {
        invaders.push({
            x: 50 + col * 70,
            y: 50 + row * 50,
            width: 40, height: 30
        });
    }
}

document.addEventListener('keydown', e => keys[e.code] = true);
document.addEventListener('keyup', e => keys[e.code] = false);

function update() {
    // Player Bewegung
    if (keys['ArrowLeft'] && player.x > 0) player.x -= player.speed;
    if (keys['ArrowRight'] &&
        player.x < canvas.width - player.width)
        player.x += player.speed;

    // Schießen
    if (keys['Space']) {
        if (bullets.length === 0 || bullets[bullets.length-1].y < 500) {
            bullets.push({
                x: player.x + player.width/2 - 2,
                y: player.y,
                width: 4, height: 10
            });
        }
    }

    // Bullets bewegen & Kollision
    bullets.forEach((b, bi) => {
        b.y -= 7;
        invaders.forEach((inv, ii) => {
            if (b.x < inv.x + inv.width &&
                b.x + b.width > inv.x &&
                b.y < inv.y + inv.height &&
                b.y + b.height > inv.y) {

                invaders.splice(ii, 1);
                bullets.splice(bi, 1);
            }
        });
        if (b.y < 0) bullets.splice(bi, 1);
    });
}

function draw() {
    ctx.fillStyle = '#000';
    ctx.fillRect(0, 0, canvas.width, canvas.height);

    // Player
    ctx.fillStyle = '#0f0';
    ctx.fillRect(player.x, player.y, player.width, player.height);

    // Invaders
    ctx.fillStyle = '#f0f';
    invaders.forEach(inv => ctx.fillRect(
        inv.x, inv.y,
        inv.width,
        inv.height));

    // Bullets
    ctx.fillStyle = '#fff';
    bullets.forEach(b => ctx.fillRect(b.x, b.y, b.width, b.height));

    if (invaders.length === 0) {
        ctx.fillStyle = '#0f0';
        ctx.font = '40px Courier New';
        ctx.fillText('MISSION COMPLETE!', 220, 300);
    }
}

function loop() {
    update();
    draw();
    requestAnimationFrame(loop);
}

loop();
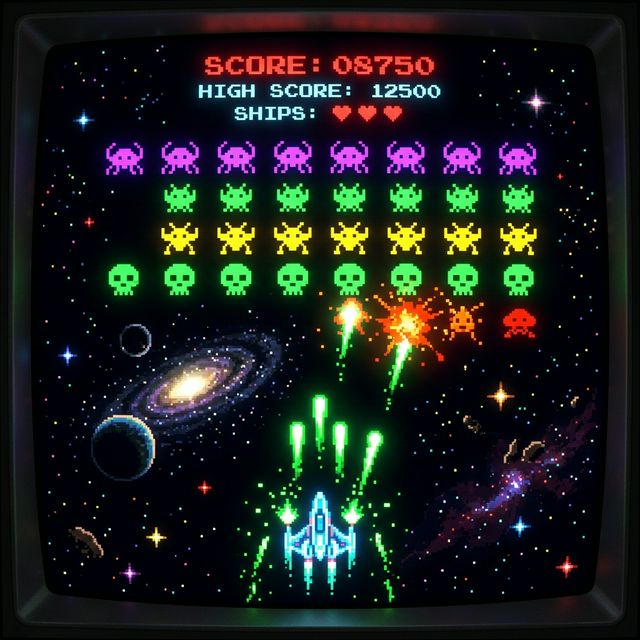
⚠️ 📸 SCREENSHOT ANFRAGE: Hier einen Screenshot vom fertigen Spiel einfügen, idealerweise während gerade ein Invader explodiert oder die "Mission Complete" Nachricht erscheint.
🏗️ Infrastruktur: Node.js-Server statt simples HTML-Hosting
Wir nutzen bewusst Node.js mit Express statt eines simplen nginx-Containers. Das gibt dir die Möglichkeit, in Zukunft ein Backend für Highscores, Multiplayer oder eine API anzubauen – ohne das Projekt umstrukturieren zu müssen.
my-retro-game/package.json:
{
  "name": "my-retro-game",
  "version": "1.0.0",
  "scripts": { "start": "node server.js" },
  "dependencies": { "express": "^4.18.2" }
}
my-retro-game/server.js:
const express = require('express');
const path = require('path');
const app = express();

app.use(express.static(path.join(__dirname, 'public')));

const PORT = process.env.PORT || 3000;
app.listen(PORT, () => console.log(`Game läuft auf http://localhost:${PORT}`));
Verschiebe deine Spiel-Dateien in einen public/-Ordner:
mkdir public
mv index.html public/
mv game.js public/
npm install
my-retro-game/docker-compose.yml:
version: '3.8'
services:
  app:
    image: node:18-alpine
    working_dir: /app
    volumes:
      - .:/app
    ports:
      - "3000:3000"
    command: sh -c "npm install && npm start"
docker compose up -d
Öffne http://localhost:3000 – und los geht's!
🎯 Zusammenfassung
Du hast heute die drei Säulen der Spieleentwicklung kennengelernt:
- Rendering: Grafik auf den Bildschirm bringen (Canvas).
- State Management: Wissen, wo sich Objekte befinden.
- Kollisionserkennung: Logik, was passiert, wenn sich Objekte berühren.
Dieses Wissen ist die Basis für fast jedes 2D-Spiel da draußen. Viel Spaß beim Erweitern (vielleicht mit Sounds oder verschiedenen Gegnertypen)!